
はじめに : Arduinoとの接続する
STEP 1. UnlimitedHandのバッテリーを充電する

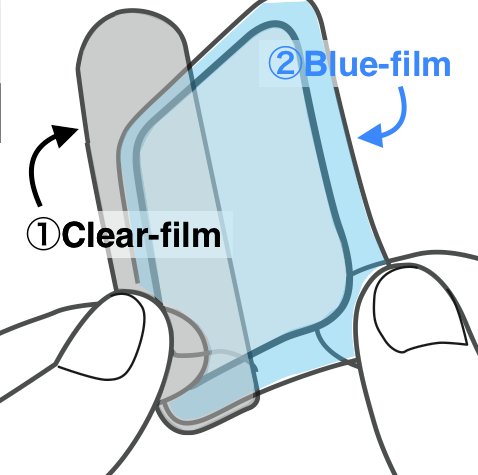
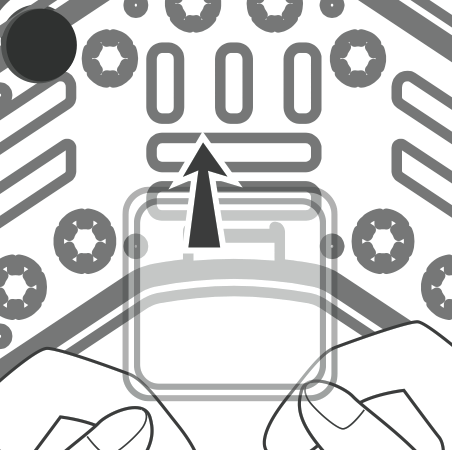
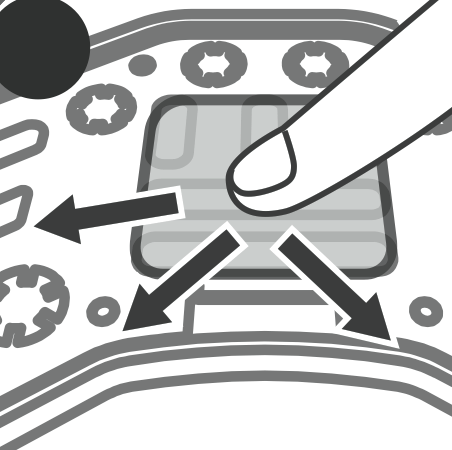
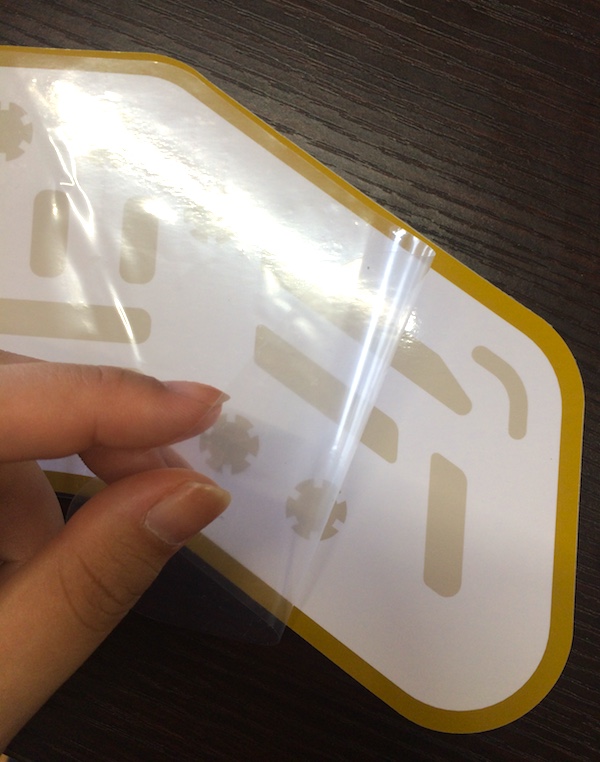
STEP 2. UnlimitedHandをセットアップする


STEP 3. Arduino IDEをインストールする
下記のURLをクリックしてください:
Arduino IDEをPCにダウンロード, インストールしてください。
STEP 4. USB Aとmicro Bケーブルでのシリアル通信を確認する
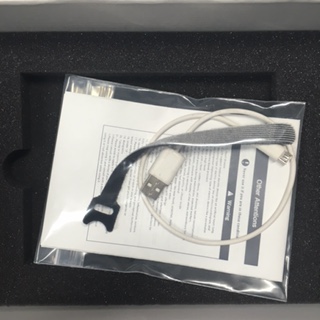
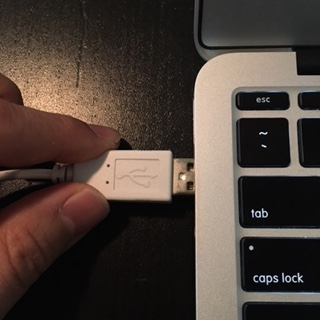
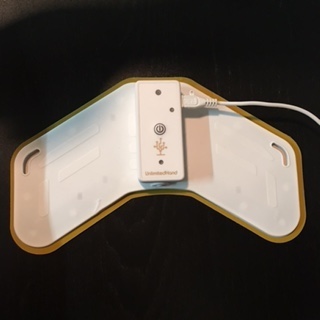
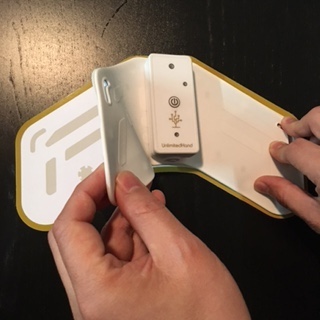
PCとUnlimitedHandを同梱されたUSB micro B-Aケーブルで接続し, 電源ボタンを押してデバイスの電源を入れてください。
デバイスの電源が入ると, 緑色のランプが点灯します。
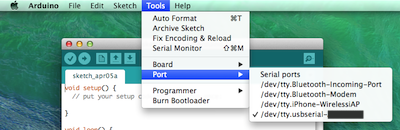
Arduino IDEのシリアルポートを設定します。
"ツール" -> "シリアルポート" (Macでは /dev/cu/-*, Windowsでは COM*)
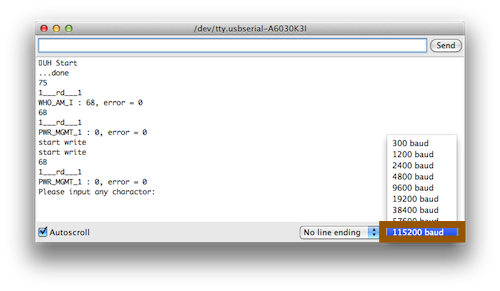
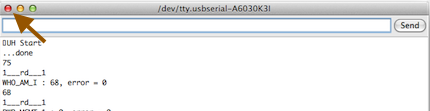
Arduino IDEの右上の虫眼鏡のボタンを押し, シリアルモニタを立ち上げます。
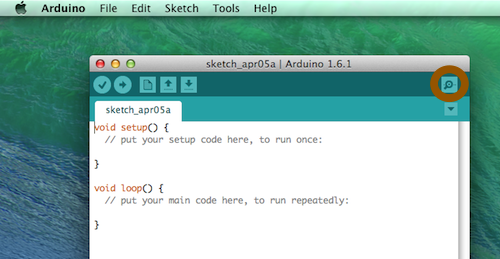
シリアルモニタウインドウの右下にあるドロップダウンリストで, ボーレートを115200に設定します。
お手元に届く際, UnlimitedHandには既にサンプルコード(Library for Arduino :UH/examples/Serial_Unity_Processing)
がアップロードされています。
サンプルコードとシリアルモニタでは, シリアル通信の動作確認テストができます。
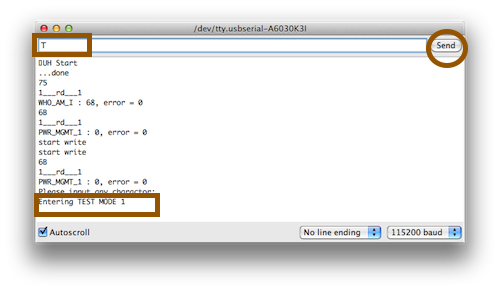
テキストボックスに'T'を入力し, "送信"ボタンを押します。
UnlimitedHandが一度バイブレーションを起こします。
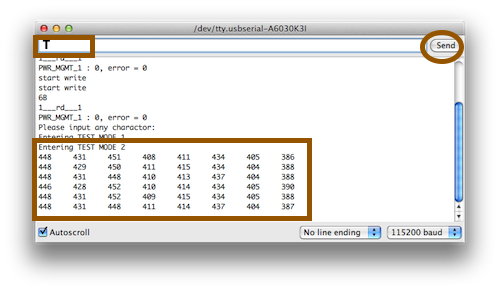
もう一度テキストボックスに'T'を入力し, "送信"ボタンを押します。
次は, フォトリフレクタの値がシリアルモニタに表示されます。
さらにもう一度テキストボックスに'T'を入力し, "送信"ボタンを押します。
角度, 温度, ジャイロセンサの値がシリアルモニタに表示されます。

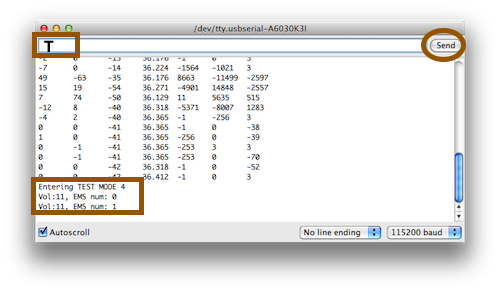
最後に'T'を入力し送信すると, 標準のEMS()がセットされます。
標準EMSが出力されます。
ウインドウの閉じるボタンを押します。
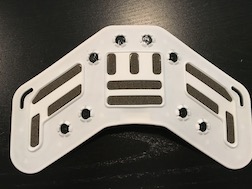
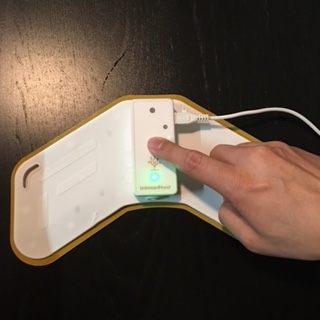
保管トレイの金色の縁に合わせてUnlimitedHandを置き, 保管します。
電源ボタンを押し, デバイスの電源を切ります。
チュートリアルは以上です。